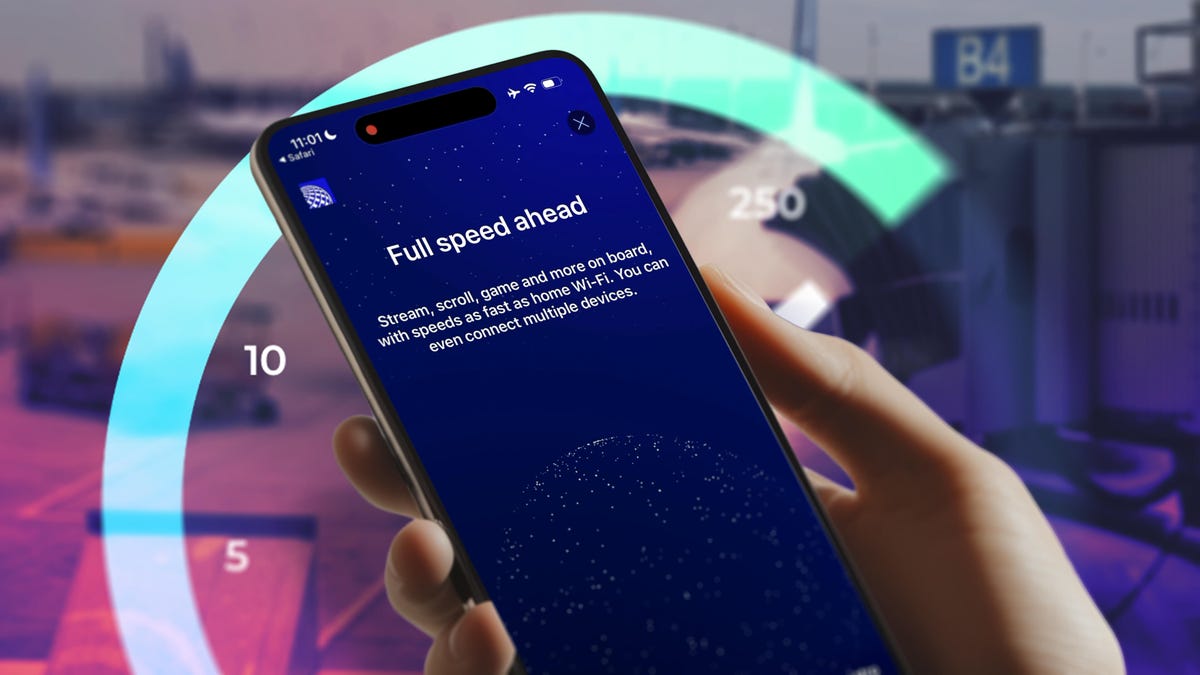
Introduction
In today’s digital age, Excel has become an indispensable tool for organizing and analyzing data. Whether you’re a business professional, a student, or an individual managing personal finances, Excel offers a wide range of functionalities to simplify complex tasks. One common operation in Excel is extending a table, which allows you to add new rows or columns to accommodate additional data. In this article, we will explore various methods to extend a table in Excel, providing you with the knowledge and skills to efficiently manage your data.
Understanding Tables in Excel
Before we delve into extending tables, let’s first understand the concept of tables in Excel. A table in Excel is a structured range of data that includes column headers. By converting a range of data into a table, you gain several advantages. Excel automatically applies formatting, such as alternating row colors and filter arrows, making it easier to interpret and analyze the data. Additionally, tables allow you to use powerful features like structured references and table formulas, which simplify calculations and improve readability.
Method 1: Using the AutoFill Handle
One of the simplest ways to extend a table in Excel is by using the AutoFill handle. The AutoFill handle is a small square located in the bottom right corner of a cell or a selected range. To extend a table using this method, follow these steps:
- Select the last cell in the table’s column or row that you want to extend.
- Place your cursor over the AutoFill handle until it changes to a small black crosshair.
- Click and drag the handle in the desired direction to add new cells to the table.
- Release the mouse button to extend the table.
Using the AutoFill handle, you can quickly add new rows or columns to your table, maintaining the formatting and formulas of the existing data.
Method 2: Using the Table Resize Handle
Excel provides a dedicated handle for extending tables, known as the Table Resize handle. This handle appears in the bottom right corner of a table when you select it. Here’s how you can use the Table Resize handle to extend a table:
- Select the entire table by clicking anywhere within the table.
- Locate the Table Resize handle in the bottom right corner of the table.
- Click and drag the handle in the desired direction to expand the table.
- Release the mouse button to extend the table.
The Table Resize handle offers a convenient way to add new rows or columns to a table without affecting adjacent data.
Method 3: Using the Insert Options
Excel provides a set of powerful insert options that allow you to add new rows or columns to a table with ease. To use this method, follow these steps:
- Right-click anywhere within the table to open the context menu.
- In the context menu, hover over the “Insert” option to reveal a sub-menu.
- Select either “Insert Table Columns to the Left” or “Insert Table Columns to the Right” to add new columns. Alternatively, choose “Insert Table Rows Above” or “Insert Table Rows Below” to insert new rows.
- Excel will automatically adjust the table structure, accommodating the new cells while maintaining the formatting and formulas.
Using the Insert options provides precise control over where you want to insert new cells in your table.
Method 4: Using the CONCATENATE Function
In some cases, you may need to extend a table by concatenating data from multiple columns. Excel’s CONCATENATE function allows you to combine text from different cells into a single cell. Here’s how you can utilize this function to extend a table:
- In a new column outside the table, enter the CONCATENATE formula. Start by typing =CONCATENATE(.
- Select the first cell in the row that you want to extend and add a comma after the closing bracket of the formula.
- Continue selecting the cells you want to concatenate, separating each cell reference with a comma.
- Once you have selected all the cells, close the formula with a closing bracket ).
- Press Enter to apply the formula to the cell.
- Drag the fill handle of the cell down to extend the formula to the desired number of rows.
By using the CONCATENATE function, you can merge the contents of multiple cells into a single cell, effectively extending the table with concatenated data.
Method 5: Using the TRANSPOSE Function
The TRANSPOSE function in Excel allows you to switch the orientation of a range of cells from rows to columns, or vice versa. This can be handy when you need to extend a table by adding new rows or columns. Follow these steps to utilize the TRANSPOSE function:
- Select the range of cells that you want to transpose. Ensure that the number of cells you select matches the desired number of new rows or columns you want to add.
- Copy the range by pressing Ctrl+C or right-clicking and selecting Copy.
- Right-click on a new location outside the table where you want to add the transposed cells.
- Right-click and select the Paste Special option from the context menu.
- In the Paste Special dialog box, check the Transpose option.
- Click OK to paste the transposed cells, extending the table with new rows or columns.
Using the TRANSPOSE function allows you to extend your table while reorganizing the data in a different orientation.
Conclusion
In this comprehensive guide, we explored various methods to extend a table in Excel. Whether you prefer using the AutoFill handle, the Table Resize handle, the Insert options, or functions like CONCATENATE and TRANSPOSE, Excel offers flexibility and efficiency in managing and expanding your data tables. By employing these techniques, you can effortlessly accommodate additional information, maintain data integrity, and enhance your data analysis capabilities.
Remember, mastering Excel and its features takes time and practice. The more familiar you become with the tools and functions available, the better equipped you’ll be to handle complex data manipulation tasks. So, take the time to explore and experiment with Excel’s capabilities, and you’ll find yourself becoming a more proficient user.
Extend your Excel tables with confidence, and unlock the true potential of this powerful spreadsheet software.
Learn about how to use Power BI ? Click Me!!